Published on December 7th, 2022
Last updated on January 24th, 2023
How To Do The Eyeliner Wing In Easy 6 Ways

Perfect winged eyeliner is the type that suits almost any girl so well. But, it is also one of the most challenging techniques, especially if you don’t know how to do the eyeliner wing in right way. One wrong hand movement and everything is galley-west!
A sensual look is unthinkable without this detail of makeup. However, not everyone can draw the arrows even and correctly because, agree with us, this process does not tolerate fuss. We will tell you all about right-winged eyeliner and the technique of their application.
Suppose you have problems with eyeliner; we have made a particular eyeliner wings tutorial. You will find easy and helpful winged tips.
Method 1: Create An Easy Winged Eyeliner Using A Beveled Eyeliner Brush
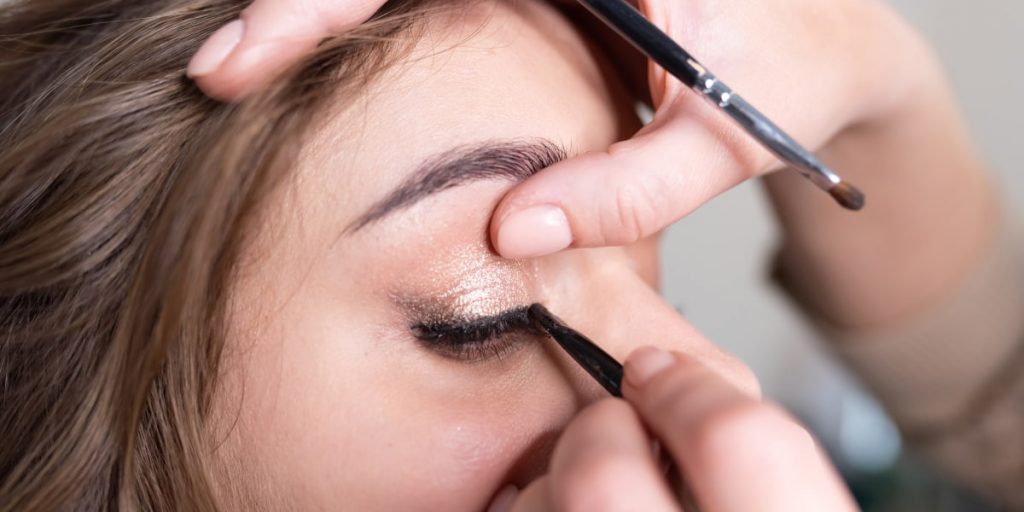
This eyeliner wings tutorial is the easiest, and it will work if you use a beveled eyeliner brush.
Take a beveled eyeliner brush, any eyeliner gel, or matte black eyeshadow. Before applying eyeliner, if you’re using eye shadow, lightly moisten the brush and squeeze it to prevent water from dripping.
Step 1: Apply eyeliner to the outer corner of the eye.
Step 2: Slowly draw a line from the outermost point to where you want the wing to end. The wing doesn’t have to be perfect at this stage.
Step 3: Then bring your eyeliner brush to the innermost corner of your eye and connect it to the wing you just drew.
Step 4: Again, slowly draw a line from the innermost point to where you want the wing to end. Remember, the eyeliner wing doesn’t have to be perfect at this stage!
Step 5: It’s time to go back and fill in the wing’s basic outline now that you have it. Draw a line gradually from the wing’s outermost point into the inner corner of your eye.
Step 6: Go back and thicken the line to make the eyeliner look more dramatic.
That’s it – the easy winged eyeliner with a beveled brush!
Method 2: Free Hand Guide

Use your free hand as the second advice to get winged eyeliner. It implies that you won’t rely on any further resources to assist you in getting the wing.
Step 1: To begin, make a tiny line extending from the outside corner of your eye. The direction of this line should be slightly upward, toward your eyebrow.
Step 2: Continue with your eyeliner as usual. Draw the eyeliner outward when you get to where the wing should start.
Step 3: The wing should be pointing slightly upwards as if reaching for the tip of your eyebrow.
One tip for the perfect winged eyeliner is not to pull back the corner of your eye. If you do, you won’t get the result you expect. The main thing about this method is to ensure that the wing always points up toward the eyebrow.
Step 4: Once you’ve achieved the perfect wing, continue underlining the lower lash line until you reach the inner corner of your eye.
Method 3: Create An Easy Winged Eyeliner With Tape
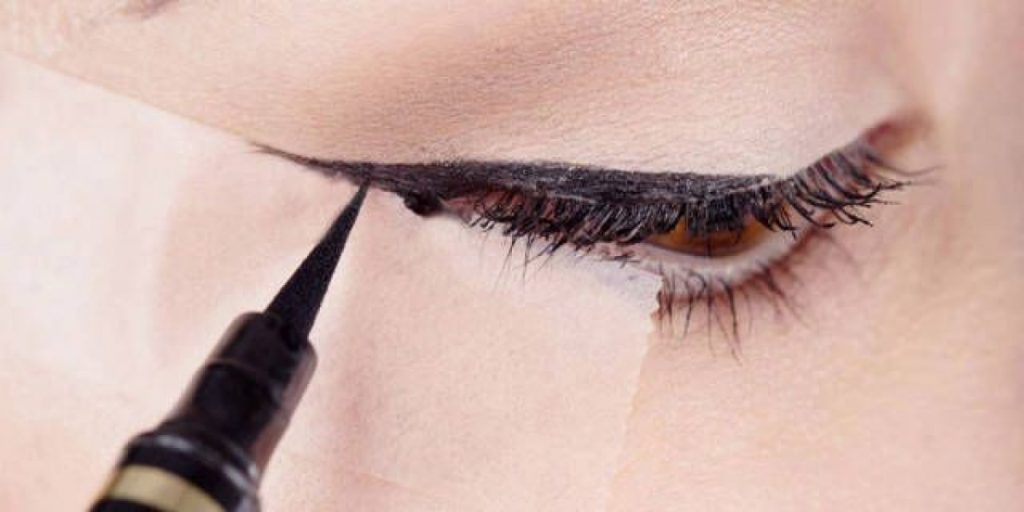
This tape eyeliner wings tutorial lets you create the perfect eyeliner every time. What do you need?
- Scotch tape.
- Liquid eyeliner or eyeshadow.
Step 1: Place a small piece of tape on the outer corner of your eye, perpendicular to your lashes. Make sure the tape is close to your lash line.
Step 2: Use an eye pencil or eyeshadow to fill the space above where the tape is close to your lash line. It will be your wing! You can make it as thick or thin as you want.
Step 3: Bring the line to the inner corner of your eyes for a more dramatic look.
Step 4: Remove the tape, and your easy-winged eyeliner is complete! Finish the rest of your makeup as usual.
Tape eyeliner is perfect for beginners or those who want an easy eyeliner wings tutorial. This method is foolproof and allows you to get the perfect eyeliner every time!
Method 4: Use A Spoon To Get The Perfect Wing
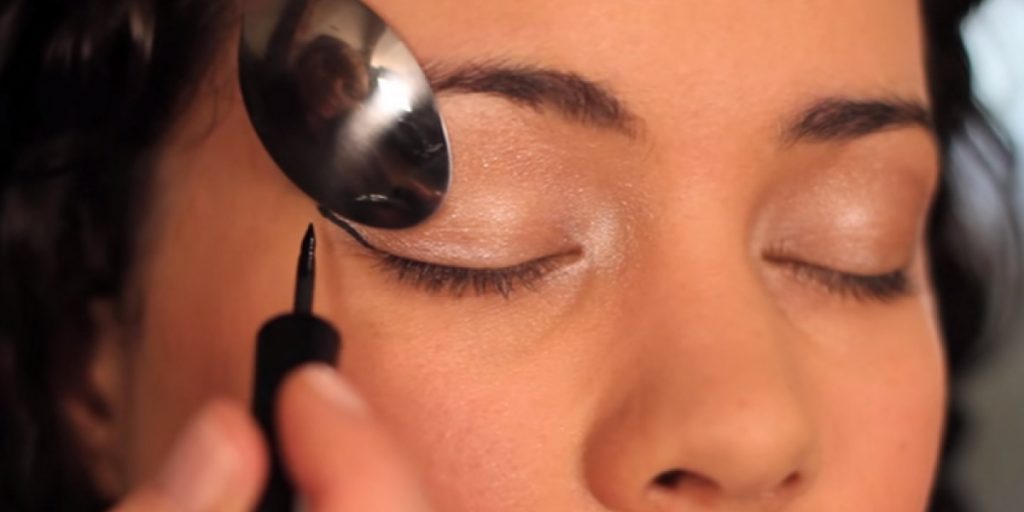
Although eyeliner is challenging to master, it will become your signature look once you do. There are few skills or materials needed for the winged tip. You only need to bring your favorite eyeliner and a spoon from the kitchen.
Step 1: Start by putting the spoon in the outer corner of your eye.
Step 2: Rest your elbow on a hard surface, so your hand is steady. Run your eyeliner around the edge of the spoon. It will become your wing.
Step 3: Take the spoon away and fill in the wing. You can make it thicker if you feel it would be better.
Step 4: Use a cotton swab dipped in makeup remover to eliminate mistakes.
Step 5: Bring the line to the inner corner of your eye for the perfect finished look.
It is one of the best ways to get the perfect winged eyeliner every time! Try it for yourself and see for yourself.
Method 5: The Winged Eyeliner With A Stencil
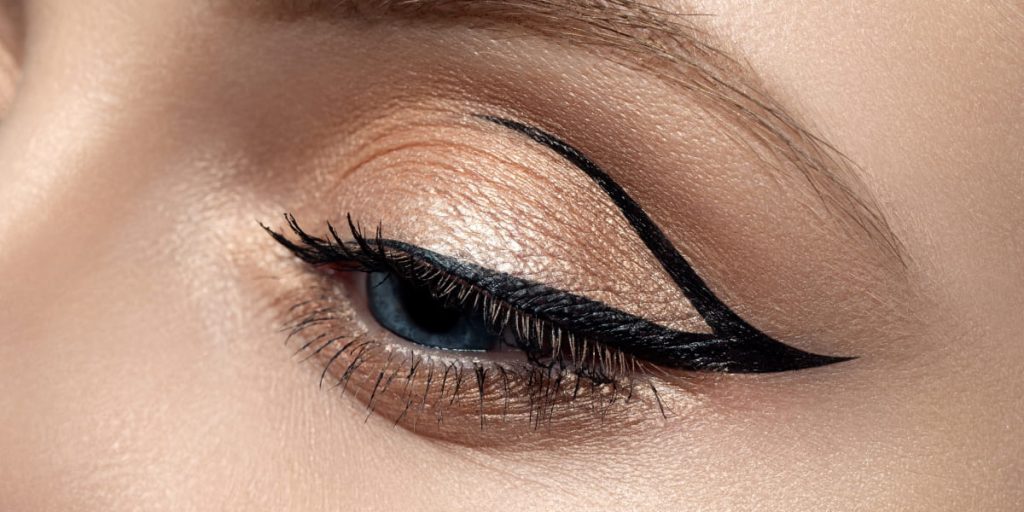
Did you know that there are unique stencils for easy-winged eyeliner applications?
| Pros | Cons |
| The result is always precise and symmetrical. | The eyeliner stencil doesn’t always fit snugly to the shape of your eye, which can result in some of the product not reaching your skin at all. |
| If you use good waterproof eyeliner, your makeup will last all day. | It’s harder to achieve different wing shapes with a stencil than with a free hand. |
Step 1: Place the stencil on your eyelid.
Step 2: Apply eyeliner to the spaces between the stencil and your lash line.
Step 3: Gently remove the stencil.
Step 4: Fill in any gaps with more eyeliner, if necessary.
Try this method if you’re struggling to achieve a perfect winged eyeliner with a free hand. It is probably the most straightforward winged eyeliner tutorial on our list! Just make sure you find an eyeliner stencil that fits well to the shape of your eye.
Method 6: The Winged Eyeliner With A Business Card
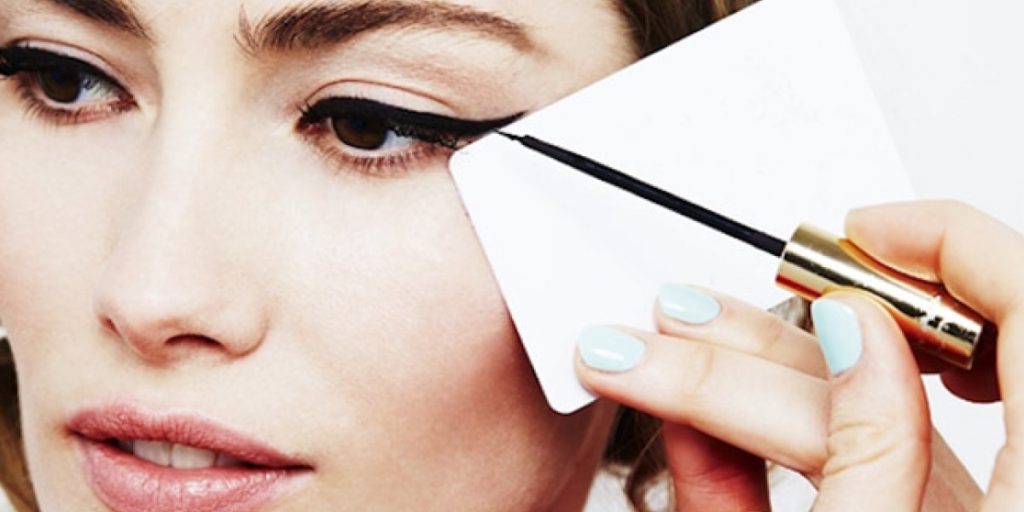
The final technique we choose to discuss is an easy way to create a winged eyeliner using a card. Which do you require?
- A business card or other similar cardboard item
- Eyeliner (liquid, gel, pencil) (liquid, gel, pencil)
Step 1: Place the business card’s wing on the outside corner of your eye.
Step 2: Eyeliner is used to draw a line along the business card’s edge. You should determine the length of the wing.
Step 3: Remove the business card with care.
Step 4: Connect the wing to the rest of the line in step four.
This method is not a sophisticated – it gives the wing a fantastic shape. If sketching the wing is challenging, we suggest utilizing this method.
Bottom Line
There are a lot of different techniques for applying winged eyeliner, but these are the most typical and simple. We hope that our winged eyeliner tutorial was helpful and that one of these methods will let you achieve the perfect look!
FAQ
How Does The Eyeliner Wing?
Winged eyeliner is created by drawing a line from the inner to the outer corner of the eye, winging out at the end.
Is It Easy To Create A Winged Eyeliner Look?
Yes, winged eyeliner is easy to create with the right tools and techniques. Try one of the methods in our winged eyeliner guide to getting started!
What Is The Best-winged Eyeliner Look For Beginners?
The best-winged eyeliner look for beginners is the classic cat eye. This look is easy to achieve with a winged eyeliner stencil or by using a business card to create the wing.
How Can I Make My Winged Eyeliner Look Last All Day?
To make your winged eyeliner look last all day, use a waterproof eyeliner and set it with eyeshadow. It will help the winged eyeliner to stay in place and not smudge throughout the day.


