Published on August 31st, 2022
Last updated on January 25th, 2023
How To Put On Eye Makeup: Tutorial For Applying Eyeshadow
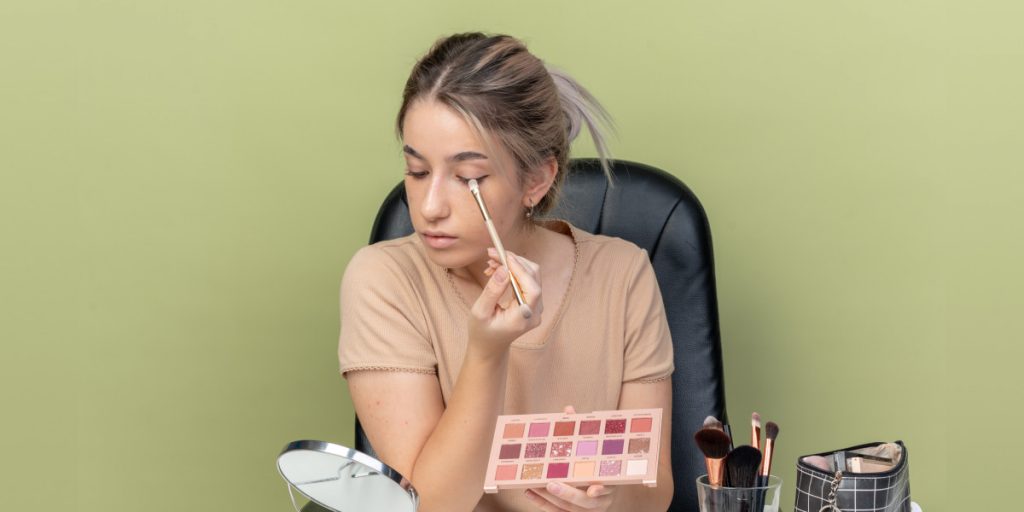
The eyes are the windows to the soul. But they can also be one of the most striking features of your face. If you’re unsure about your eye makeup skills, don’t worry! To create a harmonious eye makeup look, you must first use products in the right shades and apply them in a way that emphasizes the advantages of appearance and distracts attention from the flaws.
This guide is created for beginners who want to learn how to apply eyeshadow like a professional. I’ll tell you how to choose shadows depending on your eye color and use them depending on their texture. If you’re starting or want to learn new techniques, keep reading because I will tell you the secret of how to create beautiful and spectacular eye makeup step by step.
How To Choose The Right Shades Of Eyeshadow
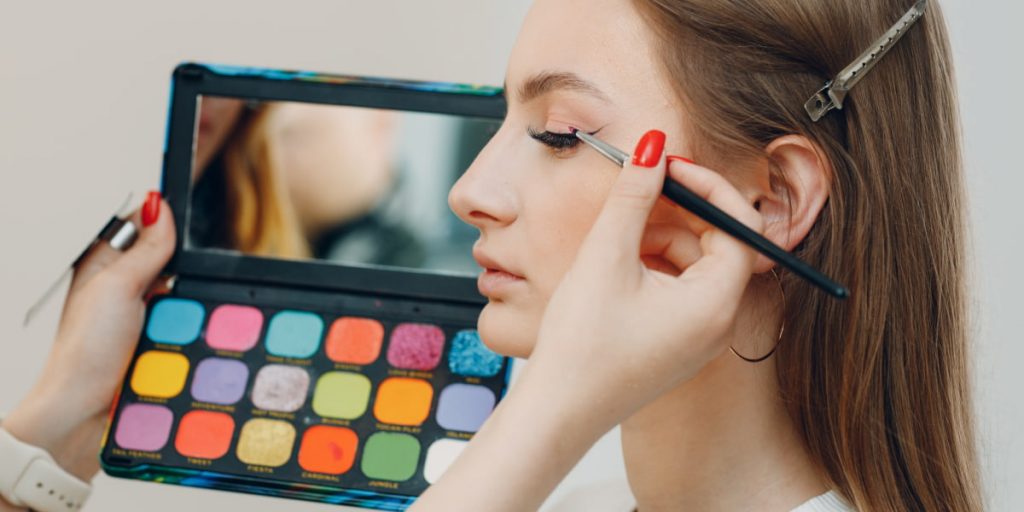
The easiest way to choose shadows that work for you is to focus on the color of your eyes:
1. Blue Eyes
With their help, it is easy to accentuate the eyes, while they will not divert all the attention. Soft, neutral shades of shadows will perfectly complement the blue eyes. Do not use too dark shades – for example, coral or champagne shades will be more suitable.
2. Gray Eyes
Gray eyes are rare. Makeup artists create tutorials for applying eyeshadow for gray eyes with their close shades of color – actually gray or metallic blue.
3. Green Eyes
Green eyes themselves are bright. A muted purple will do for the evening, brown with a shimmer for every day.
4. Brown Eyes
Almost any shade will do for these eyes color. But mostly neutral shades like, for instance, salmon and bronze-gold.
Applying Dry Eyeshadow
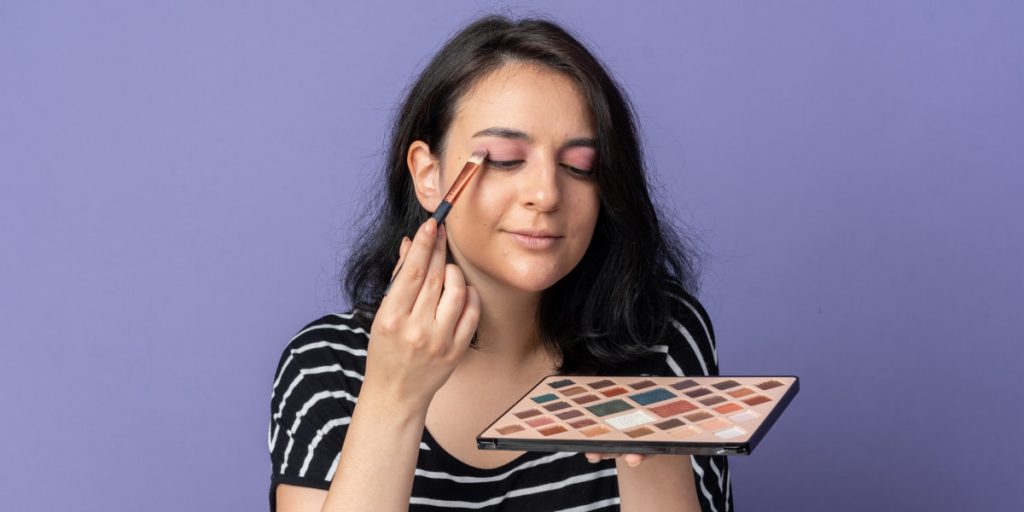
Dry-pressed eyeshadows are probably the most familiar format. With their help, you can control the intensity of coverage, and they are easy to shade and blend into each other. They can be applied with a brush or with your fingers. What should be the sequence of steps? Here’s our little eyeshadow application guide:
- Prepare your skin first. Apply primer or concealer all over your upper and lower eyelids;
- Use a basic eyeshadow pallet. Apply light beige shades to the inner corner. Use a brush to blend the lighter shade towards the mobile eyelid;
- If a darker color needs to be added, it will look more prominent on the tip of the eye. Apply a small amount to the outer corner, blending in a circular motion toward the center of the eyelid. You may combine a small amount with a lighter color;
- You may add a glitter shadow to the center of the eye. In the center of the mobile eyelid with a brush, apply a little glitter and lightly blend in a circle, coming in light and dark color shadows;
- Under the lower lashes, go through the same dark shade you used in the outer corner. Don’t make too clear lines; blend well.
Step-by-Step Eye Makeup: Applying Cream Eyeshadow
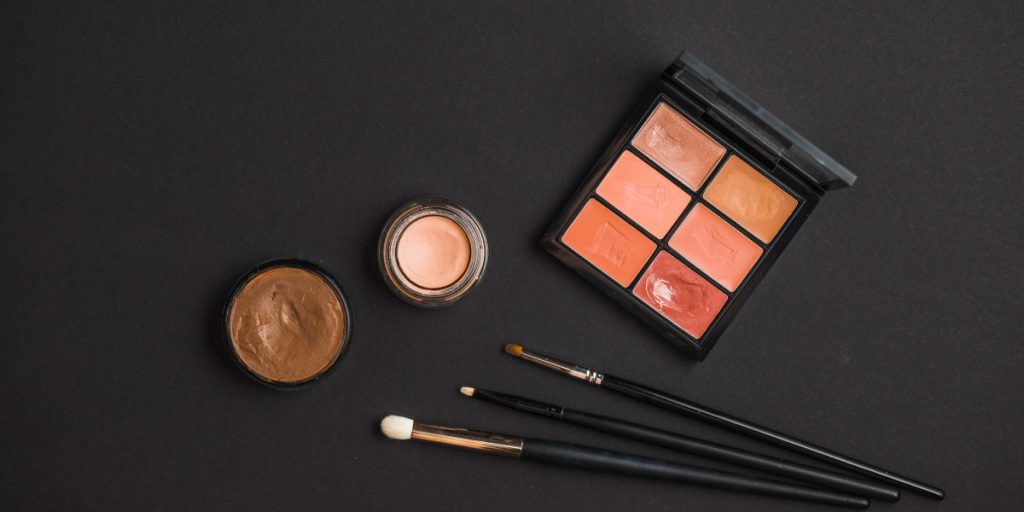
Cream eyeshadows are ideal for smoky eyes and smoky arrows. Thanks to their texture, they are easy to apply and shaded (the color can be reduced to almost nothing if necessary), long-lasting, and do not feel on the skin during the day. How do you apply makeup with them? Here’s our guide to using cream eyeshadows:
- Applying cream eyeshadows should also start with a skin preparation. Apply concealer or eyeshadow primer on your upper and lower eyelids;
- Along the growth line of the upper eyelashes, go over the cream shadows. It is best to choose a darker shade to accentuate the brightness of your eyes;
- On the mobile eyelid, apply cream shadows in light shades; choosing peach and nude shades is better. Blend the eyeshadow well, preferably with a circular, tapping motion;
- Apply liquid eyeshadow under the lower lashes. Choose a shade darker than the color of the mobile eyelid. Rustouche.
Step-by-Step Eye Makeup: Applying Eyeshadows Depending On The Shape Of The Eyes
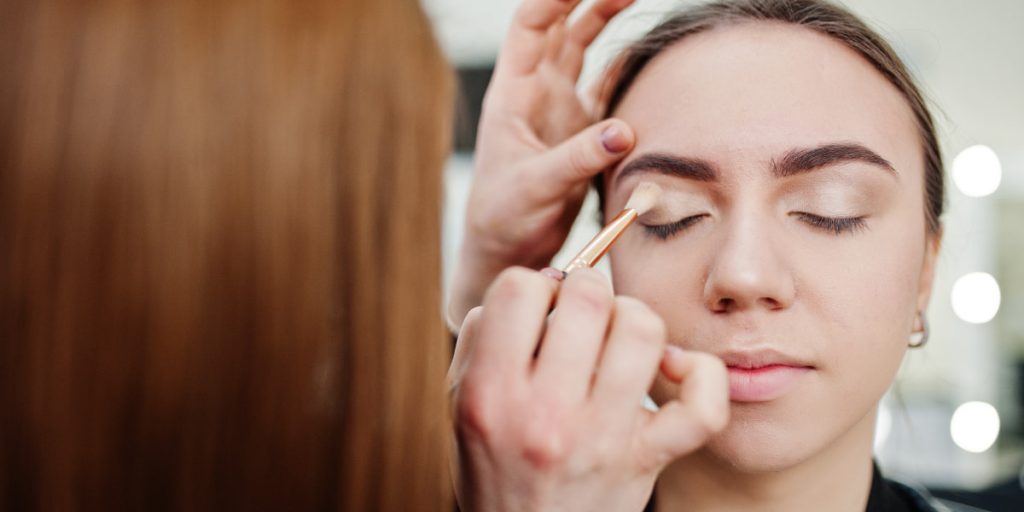
No matter what your eye shape is, there’s an eyeshadow look that will work for you. By following a few simple steps, you can create a look that’s perfect for your eye shape. Here’s a step-by-step eye makeup guide for all eye shapes:
1. Round Eyes
Start your makeup by applying liner from the inner corner of the eye to the outer corner, leaving a small “ponytail.” Use a light, luminous shadow to illuminate the area above the brow and the inner corners of the eyes. Blend the intermediate shade of shadow over the upper eyelid, then apply a dense, darker shade to the crease and blend it slightly to the center of the eye. Such a trick will help to add volume to your makeup.
2. Almond-shaped Eyes
Almond-shaped eyes are usually symmetrical (achieving symmetry is the goal of almost any eye makeup look). Apply shadow in a circular technique – brush the shadow over the shape of the eye.
3. Overhanging Eyelids
The problem with this eye shape is that you can barely see the moving part of your eyelid, so it’s much smaller. Here’s a guide on how to get the right eyeshadow for these eyes: start with a light, luminous shadow pasted into your eyes’ inner corners. Then apply a shadow in an intermediate shade, spreading it liberally over the mobile portion of the eyelid. Apply a denser layer of darker shadows in the crease. Makeup this way will be more harmonious.
4. Convex Eyes
Don’t lighten up the inside corners of your eyes – apply a shimmering light shadow only above the brow. As with overhanging eyes, use a dense layer of eyeshadow in an intermediate shade – not just above the crease but also below it. And liner pass from the inner corners of the eyes to the outer corners.
5. Deep-set Eyes
Apply the shadow using the same technique as for round eyes. There is one “but”: the dark shadows must be applied in a semi-transparent layer.
6. Close-set Eyes
To visually increase the distance between the eyes, you must apply eye makeup step by step. Start by using a light, luminous shadow – blend it over the brow and into the inner corners of the eyes. Blend an intermediate shade of shadow across the width of the eye. Blend the darker shade over the crease.
7. With Drooping Eyelids
The exact makeup look used for round and almond-shaped eyes will work for these eyes.
Bottom Line
Now that you know the basics of eyeshadow application, keep checking the most recent makeup guides. I have a bunch of helpful tips on how to make your life with makeup more practical. For example, if you don’t know how to apply eyeliners, be sure to read how easy it is to do. With a bit of practice, you can create any look you want with just a few simple steps. Thanks for reading!
FAQ
How to put on eye makeup?
It is a tricky question because there are many ways to do it. Depending on the shape of your eyes, you will need to use different techniques and shades. But the classic option is light shades in the corner of your eye and darker shadows on the outer corner.
What are the best shadows for beginners?
The best eyeshadows for beginners are dry eyeshadows. They are easy to apply and blend and have a long-lasting effect. However, you should use a primer to keep them from rolling.
How do I know what colors to use for eyeshadow?
The color of eyeshadow depends on the color of your eyes. However, if you have a specific look and want a color shadow, you may go for it.
What is the best way to apply eyeshadow?
The best way to apply eyeshadow is to use a light, luminous shadow in the inner corners of your eyes and an intermediate shade on the entire moving eyelid. You can use a dense, dark shadow in the crease for a more dramatic look.

