Published on December 29th, 2022
Last updated on October 24th, 2023
How to Get the Perfect At-Home Manicure

In today’s world, looking good and feeling confident is essential. One way to achieve this is by maintaining well-groomed hands and nails. A manicure in a salon can be a relaxing and pleasant experience. But it can also be time-consuming and expensive. Fortunately, a little practice and the right tools can help you get the perfect at-home manicure. At the same time, it won’t be inferior to professional services.
The advantages of different manicures at home are numerous. They include giving your nails an individual shape, choosing your nail color, and saving time. Besides, an independent manicure can be a fascinating and creative activity. It will allow you to express your style.
In this article, we will give a step-by-step guide on how to do your own manicure. We will cover everything from preparing your nails to applying the top coat. We will also provide tips on maintaining your manicure to make it last longer. By the end of this article, you will have all the knowledge and tools you need to create a beautiful manicure.
How to Do Your Own Manicure

Well-groomed nails can boost your self-confidence and improve your appearance. But going to the salon to get your nails done can be expensive and time-consuming. Fortunately, performing a DIY manicure is a convenient and cost-effective alternative. This step-by-step guide needs the perfect manicure using basic tools. From cleaning and shaping your nails to applying nail polish and finishing touches. This guide is suitable for beginners and experienced at-home manicure enthusiasts alike. With our expert tips and advice, you can achieve salon-quality nails from the comfort of your own home.
Prepare Your Nails

Preparing your nails is an essential step to achieving a successful at-home manicure. Follow these simple steps to get your nails ready for polishing. But before that, let’s highlight the products that can come in handy in these steps.
| Name | Features | Advantages of Use |
| Towels for manicure | Brand: ForPro Professional Collection Material: Plastic Product dimensions: 16″L x 12″W Number of items: 50 | Cleanliness Comfort Hygiene Protection Efficiency |
| Nail polish remover | Brand: Cutex Item form: Liquid Item volume: 6.7 Fluid Ounces Item weight: 200 Grams | Efficient Versatile Helps maintain nail health Makes it easier to switch up nail colors Can remove other products |
| Cuticle pusher | Brand: Ecoed Color: Colorful Material: Wood Unit count: 24.00 Count | Promotes nail health Improves appearance Helps maintain manicure longevity Can prevent damage to the nail bed |
| Cuticle remover | Brand: Coty Beauty Item form: Liquid Product dimensions: 0.9 x 2.7 x 5.3 inches Unit count: 1 Ounce | Promotes nail health Improves appearance Makes nail polish application easier Allows for more precise nail art Helps maintain manicure longevity |
| Home manicure kit | Brand: Verhold Color: White Material: Aluminum Item dimensions: 5.75 x 1.26 x 1.22 inches Power source battery: Powered | Saves time and money Ensures cleanliness and hygiene Allows for precision and control Customizable Can be used for both manicures and pedicures |
| Cuticle oil | Brand: ECCO PURE Item form: Oil Active ingredients: Vitamin E Use for: Whole Body | Promotes nail health Improves appearance Strengthens nails Helps manicure last longer Easy to use |
| Hand cream | Brand: CeraVe Scent: Fragrance-Free Item form: Cream Active ingredients: Hyaluronic acid Unit count: 3.0 Ounce | Hydrates the skin Prevents aging Protects hands Softens cuticles Soothes irritation |
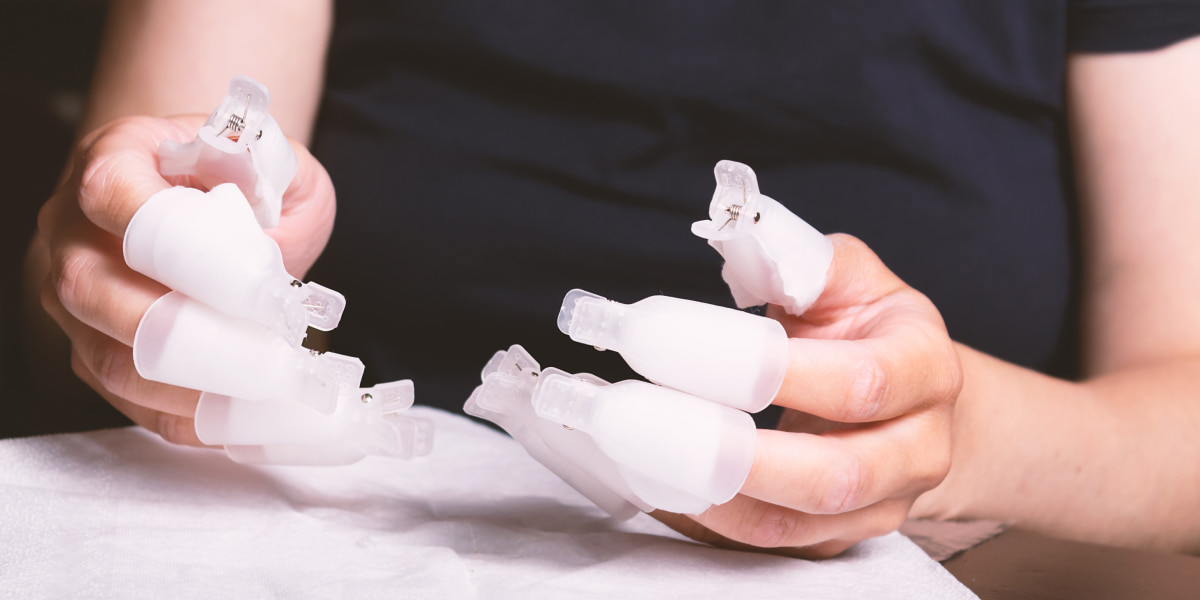
Remove Any Old Nail Polish
Removing any old nail polish is an important first step in preparing your nails for a manicure. Here’s how to do your own manicure and remove old nail polish:
- Gather your supplies. You’ll need a bottle of non-acetone nail polish remover, cotton pads or balls, and a flat surface to work on.
- Apply the nail polish remover. Pour a small amount of non-acetone nail polish remover onto a cotton pad or ball.
- Hold the cotton pad against your nail. Press the cotton pad or ball against your nail and hold it there for a few seconds. This will allow the nail polish remover to penetrate and loosen the nail polish.
- Wipe away the nail polish. Use the cotton pad or ball to wipe away the nail polish, using a gentle rubbing motion. Be sure to wipe the entire nail until all the polish removes.
- Repeat as necessary. Depending on how much polish you have on your nails, you may need to repeat this process several times. Continue to do this until all the nail polish removes.
- Wash your hands. After removing all nail polish, wash your hands with soap and water.
Trim Your Nails
Preparing your nails for an at-home manicure involves the essential step of trimming them. To ensure that you trim them perfectly, you need to follow some steps that include:
- Gather your supplies
You’ll need a pair of nail clippers, a nail file, and a flat surface to work on.
- Decide on the length
Decide on the desired length of your nails before you begin trimming.Cutting them gradually and not too short is best to avoid pain or discomfort.
- Trim your nails
Using the nail clippers, start trimming your nails to the desired length. Be sure to clip straight across, and not at an angle, to prevent ingrown nails. If you prefer a different nail shape, you can use a nail file to shape them after clipping.
- Smooth the edges
Using the nail file, gently file the edges of your nails to smooth them out. File in one direction only, as filing back and forth can damage the nail.
- Check the length
After filing, check the length of your nails again to ensure they are even and at the desired length.
File Your Nails
Filing your nails is an important step in preparing your nails for a manicure. Here are some steps to follow when filing your nails using the home manicure kit:
- You’ll need a nail file and a flat surface to work on.
- Select a nail file with the appropriate grit for your nails. If you have weak or brittle nails, choose a finer grit file to avoid damaging them.
- Hold the nail file at a slight angle and file your nails in one direction. Do not use a back-and-forth sawing motion, as this can damage your nails and cause them to split. If your nails are broken, file or repair them.
- Use the nail file to shape your nails to the desired shape. Round, square, and oval shapes are the most popular choices. Be sure to file the edges and corners evenly to avoid uneven or jagged edges.
- After filing, check the length of your nails again to ensure they are even and at the desired length.
- Using a buffing block, gently buff the edges of your nails to smooth them out.
Soak Nails
Preparing your nails for a manicure involves soaking them, which is a crucial step. To ensure that you soak them properly, you should follow these DIY manicure steps:
- Gather your supplies: You’ll need a bowl or basin, warm water, and gentle soap or bath salts.
- Prepare the soak: Fill the bowl or basin with warm water and add a small amount of soap or bath salts. The warm water will help soften your nails and cuticles, making cleaning and shaping them easier.
- Soak your nails: Place your hands in the bowl or basin and soak your nails for about 5-10 minutes. Relax and enjoy the soak, and use the time to massage your fingers and hands.
- Dry your hands: After soaking, remove your hands from the water and dry them thoroughly with a clean towel.
- Push back your cuticles: Gently push back your cuticles using a cuticle pusher or an orange wood stick. Do not cut your cuticles, as this can lead to infections and other nail problems.
Push Back Your Cuticles
Pulling back the cuticles is necessary for preparing your nails before an at-home manicure. It will also make your nails look neater and better groomed. You will need a cuticle pusher or orange wand to push back the cuticles. Also, use cuticle oil or lotion to soften them. It will also help make your nails shiny. Gently push back your cuticles starting from the base of your nails towards the tip. Be careful not to apply too much pressure, as it can damage your nails and cuticles. You can use cuticle tweezers to remove everything if there is an excess cuticle. But it is important not to cut too much, as this can cause bleeding or infection. Finally, clean your nails with a nail brush or soft cloth to remove dirt or debris. You’ll end up with well-groomed cuticles, ready for the next step in your manicure.
Moisturize Your Nails
Moisturizing your nails is an essential step in preparing them for a manicure. Here are some steps to follow when moisturizing your nails in how to do your own manicure:
- You’ll need a moisturizing lotion or oil and a clean towel.
- Apply the moisturizing lotion or oil to your nails and cuticles, and gently massage it in. This will help to hydrate your nails and cuticles and keep them healthy.
- Allow the moisturizer to soak in for a few minutes. You can wrap your hands in a warm towel to help the moisturizer penetrate your nails and cuticles.
- After a few minutes, use a clean towel to remove any excess moisturizer.
Apply Your Nail Polish

After preparing your nails for a DIY manicure, the next step is to apply nail polish. We have highlighted the important steps in this. We will also highlight the products that are worth using in the next steps:
| Name | Features |
| Base coat | Brand: Orly Item form: Gel Color: Clear Type: Base Material type free: Paraben Free Finish type: Matte Special feature: Alcohol-Free Age range (description): Adult Number of items: 1 Model name: Orly Nail |
| Nail polish | Brand: Morovan Item form: Liquid Color: A- Hot Pink Material type free: Non-Toxic Finish type: Glossy Special feature: Quick Dry Material feature: Non-Toxic Unit count: 2.00 Fl Oz Number of Items: 1 |
| Top coat | Brand: Seche Item form: Liquid Color: Clear Type: Top coat Material type free: Alcohol-Free Finish type: Glossy Special feature: Quick Dry, Long Wearing, Fade Resistant, Chip Resistant, Peel OffIncluded Components Top Coat Material feature: Cruelty-Free, Vegan Age range (description): Adult |
Apply a Base Coat
Applying a base coat is an important step in many painting projects. It is especially necessary when using acrylic or oil-based paints. Here is the DIY manicure to apply a base coat:
- Prepare the surface. Ensure the surface is clean, dry, and free of any dirt, dust, grease, or other contaminants. If needed, sand the surface to create a smooth and even surface.
- Choose the right base coat. Select a base coat that matches the type of paint you plan to use. For example, use an acrylic-based base coat for acrylic-based paint. You can also choose an oil-based base coat for oil-based paint.
- Apply the base coat. Use a paintbrush, roller, or spray gun to apply the base coat. Start by applying a base coat to the edges and corners of the surface. Then fill in the rest of the surface with long, even strokes. Apply the base coat in thin layers. This allows each coat to dry completely before applying the next coat.
- Sand the surface. Once the base coat is dry, use fine-grit sandpaper to lightly sand the surface. This will create a smooth surface for the top coat.
- Clean up. Clean the brushes, rollers, or spray guns with the appropriate solvent for the type of base coat you use.
Apply Your Nail Polish
When applying nail polish, it is important to shake the bottle well first. This is to ensure that the color is evenly distributed throughout the nail polish. This will help to ensure that your at-home manicure looks smooth even once it’s finished.
After shaking the bottle, the next step is to apply a thin layer of nail polish to each nail. Start by applying nail polish to the center of the nail. Then move the brush gently toward the sides, being careful not to get polish on the cuticle or skin.
Apply the varnish in a thin layer. This will help prevent it from sticking or smearing. If you apply too much polish, it can take longer to dry and may not look as smooth and even as you would like.
After applying the first coat, it is important to let it dry completely. Then, if necessary, apply a second coat. This can take anywhere from a few minutes to 15-20 minutes. This will depend on the type of varnish and the thickness of the layer applied.
If you need to apply a second coat, follow the same technique. Allow time for the varnish to dry completely before applying a third coat, if necessary. You can also try different variations of the DIY manicures, such as the French manicure.
Apply a Top Coat
After applying the nail polish, the next step is to apply a top coat. The top coat helps to protect the nail polish and adds shine to your nails.
To apply the top coat, start by making sure that the nail polish is completely dry. Then, apply a thin layer of top coat to each nail, starting in the center and moving towards the sides. Be sure to cover the entire nail, including the tips.
Like nail polish, it’s important to apply a thin layer of the top coat. This will help to ensure that it dries evenly and doesn’t smudge or clump. Allow the top coat to dry completely before doing anything with your hands.
A good top coat can make a huge difference in the look and longevity of your at-home manicure. It will help prevent chipping, cracking, and peeling. At the same time, it will give your nails shine and strength.
Clean Up Any Mistakes
If you accidentally get any nail polish on your skin or cuticles while applying it, don’t worry. You can easily clean up any mistakes with a small brush dipped in nail polish remover.
Simply dip the brush into the nail polish remover. Then gently run it around the edges of your nails where the nail polish has come off. Be careful not to touch the polish on your nails, as this can cause it to smudge or chip.
It’s important to clean up any mistakes as soon as possible, while the nail polish is still wet. This will make it easier to remove and will help to prevent any smudging or damage to your at-home manicure.
Bottom Line
In summary, how to do your own manicure? It is easy and affordable. With the right tools and a little practice, you’ll get great results from the comfort of your own home. Follow our step-by-step guide and follow our DIY manicure tips. Then you can enjoy beautiful, well-groomed nails that make you feel stylish.
FAQs:
FAQ
Before Doing A Second Coat, How Long Should I Wait For My Nails To Dry?
You should wait five minutes for the nail polish to dry before doing a second coat. If you have a UV lamp, it can take as little as one minute.
What Is The Best Way To Apply A Top Coat?
The best way to apply the top coat is by using small strokes and giving each finger enough time to dry. Using a top coat specifically designed for nail polish is essential to get the best results.
How Often Should I Do Salon Nails At Home?
It will depend on how fast your nails grow and how often you want them polished. Typically doing a manicure every two weeks is recommended, but doing it more frequently can help keep your nails looking their best.
Do I Need To Use Special Tools To Do Salon Nails At Home?
You will need basic nail supplies such as nail polish, a cuticle pusher or orange stick, and a top coat. You may also want to invest in a UV lamp if you’re doing regular manicures at home. It will help the nail polish dry faster.