Published on February 14th, 2023
Last updated on February 17th, 2023
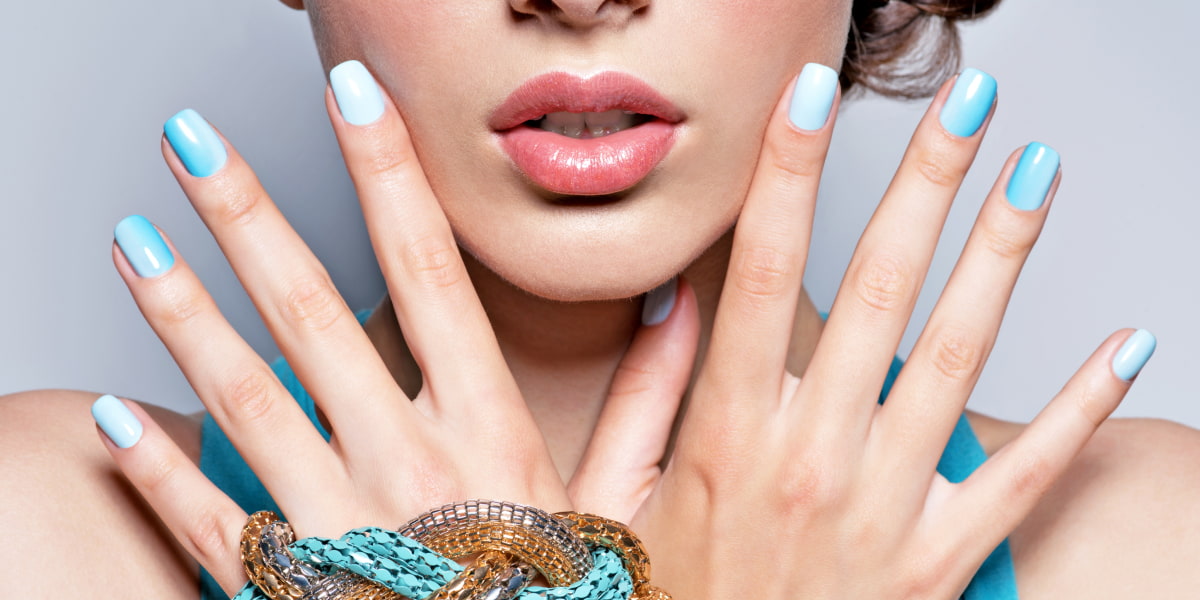
Glitter On Nails DIY: Useful Tips

The beauty of women’s hands depends not only on their skin care. Manicure also affects their appearance. And if you want to make it brighter and more creative, use glitter. It is an effective way to make your nails bright and attractive. For DIY glitter nails, you will need:
- Ordinary nail polish;
- Glitter. (it includes varieties: colored sand, stardust, or large sequins).
Glitter is large sequins made of colored foil or metallic paper. When applying glitter nail polish, you should determine the exact area of its usage. If you want to look romantic and glamorous, french nails with glitter tips are an ideal option. To stand out, decorate the entire nail plate with glitter. In general, there are many various types of it. Glitter can be big or small. This way, you can create a unique manicure with mixed colors and textures. The main thing is not to be afraid to experiment and follow clear instructions for its application. After all, glitter also requires a specific technique to use on nails. So, follow our recommended steps for it.
- Get a good manicure

Any manicure begins with the care of the nail plate. It includes cutting the cuticles and shaping the nails. All this should be done so as not to damage the skin around them. Otherwise, glitter on nails will not look beautiful. So you need:
- Immerse your fingers in warm water to soften the skin around the nails;
- With careful movements, move the cuticle to the root of the nail;
- Do this with a special manicure wooden stick;
- Trim the cuticle with manicure scissors. Start from one side, gradually moving in a circle to the other;
- When the cuticle is ready, take a nail file;
- With its help, make the desired shape of your nails. It can be square, round, and so on.
These steps are necessary to make your subsequent DIY glitter nails look better. A manicure can be good only with well-groomed nails.
- Polish the nail plate

This stage is beneficial for the beauty of your nails and improves their blood circulation. So, if you want your nails to look healthy and attractive, be sure to polish them:
- Apply aromatic oil to the nail cuticle and rub it;
- After the nails have absorbed it, polish the nail plate;
- For this, use a manicure file with high grit. It helps to remove cornified skin and smooth it;
- If you need to provide nails with perfect smoothness, polish them with a file with a little grit;
- Do it carefully so as not to damage the nails.
Polishing is complete when the nail glides freely on the surface of the file. Only after that can you proceed to apply glitter nail polish.
- Choose a color for a manicure

Before starting DIY glitter nails, choose the color of nail polish. You should consider all your wishes and the style you want to follow. Choosing the gel varnish shade should be as follows:
- Assess your skin tone. Some polishes may not suit you, so keep that in mind;
- The choice of color also depends on the length of the nails. Short plates look especially impressive with a dark glossy varnish. Pastel nail polish shades are better to use on long nails;
- Choose varnish according to the season.
Once you know which shade emphasizes the beauty of your hands, any glitter will look great on your nails.
- Cover the nails with a base coat

The base is a thick transparent material. It is for the subsequent application of colored varnish. So, for glitter to hold on nails, you need to cover them with a base coat:
- Apply a thin layer of base coat on the nails;
- Be sure to paint over the entire nail plate;
- Then wait until the varnish dries.
After it, you can proceed to the next steps of DIY glitter nails.
- Paint your nails

Next, we proceed to a more complex step. To do this, we advise you to stock up on cotton swabs, pads, and a varnish remover. It will help you to remove flaws when painting your nails:
- Apply nail varnish correctly with strokes. Start from the center of the nail plate, slightly receding from the cuticle;
- Do not forget to cover the end of the nails with varnish;
- Apply the top. It will fix the polish on the nails and allow them to last longer.
- As soon as you dry the first layer of nail varnish, apply another one.
Remember that when applying varnish, do everything carefully. Do not make sudden movements, and draw the entire nail plate evenly. The manicure should be free of lumps and uneven coverage. Otherwise, the glitter will look vague on nails.
- Apply glitter on the nails

And here is the central part. The most important thing is to take your time and do everything carefully. You need to paint nails entirely with glitter tips so that they last longer and with high quality:
- Choose glitter in a similar color to your nail polish color;
- Apply glitter on top of nail polish;
- If there are large particles in the glitter, it is better to use tweezers for them. So you will save a lot of material;
- It is most convenient to apply small glitter with a sponge on a base that has not yet dried. It will help to make an even, beautiful coating.
If you accidentally covered with glitter the place you did not intend to paint, carefully remove all the excess with a small brush.
- Remove excess glitter with a cotton swab

When you use glitter on your nails, try not to overdo it. Because then tubercles can form on the nails:
- Tap your nail on a hard surface so that all the extra sparkles fall off it;
- If the excess is still on the nails, take a thin brush and wipe it.
As a result, you will not have excess glitter, and the manicure will be incredible. After all, an excessive or insufficient amount of glitter spoils the appearance of nails and hands in general. Thus, after applying glitter nail polish, be sure to remove all excess.
- Apply the second layer of the base on the nails

This step is necessary for your glitter to have a brighter color. It also helps to fix the manicure better:
- Go back to using the base;
- Apply it evenly on all nails;
- Do this so that the glitter stays on the nails and does not come off;
- For better fixation of the manicure, apply two layers of the base.
You should approach this stage responsibly. Because it determines how strong your manicure will be. The glitter will fall off immediately if you don’t use an extra base coat. So, re-priming is a must for it.
- Clean the manicure up

The penultimate stage of DIY glitter nails is to remove all unnecessary flaws:
- If the skin around the nails is shaded with nail polish, wipe it off with nail polish remover;
- To make it convenient, you need to dip a cotton swab in this and remove all stains;
- You can also use a corrector containing a special liquid. It easily removes the remains of the coating;
- If the glitter remains on the nails, it can be difficult to remove. Thus, use a highly concentrated nail polish remover for this.
To better cope with this, do a manicure with glitter under bright lighting.
- Let the nails dry

You can dry the manicure in an LED lamp or wait for it to dry naturally. But if you dry nails with glitter tips without an LED lamp, follow this:
- Do not do anything with your hands during drying;
- Do not touch the nails until they are completely dry.
If you need to dry your nails quickly, dip them in cold water for 10-15 minutes. It will contribute to better fixation of glitter and varnish.
Bottom Line
A stylish element in the form of glitter makes the manicure more attractive. You can apply it in dry or liquid form. And for this, it is not necessary to have professional manicure tools. Basic accessories are enough to drive everyone crazy with glitter on your nails. The main thing is to follow all the stages so that everything works out the first time.
FAQ
How To Do Glitter Nails?
Apply a thin coat of gel polish to your first nail. While drying, sprinkle the nail with glitter. After a few seconds, wipe off the excess glitter.
What Can I Use To Put Glitter On My Nails?
You can use tweezers to apply it. If the glitter is very small, it is better to apply it with a sponge.
How Do You Keep Loose Glitter On Your Nails?
To do this, you need to apply it on your nails a couple of times. Apply the base coat and add glitter until it dries. Then use the base coat again on top of the glitter and pour the glitter again.
Can I Dip My Nails In Glitter?
You can do it, but we don’t recommend it. The manicure can be sloppy with a rough layer if you dip your nails in glitter. Therefore, applying glitter with a sponge or other manicure tools is better.