Published on February 13th, 2024
Last updated on February 13th, 2024
The Allure of Halo Eye Makeup
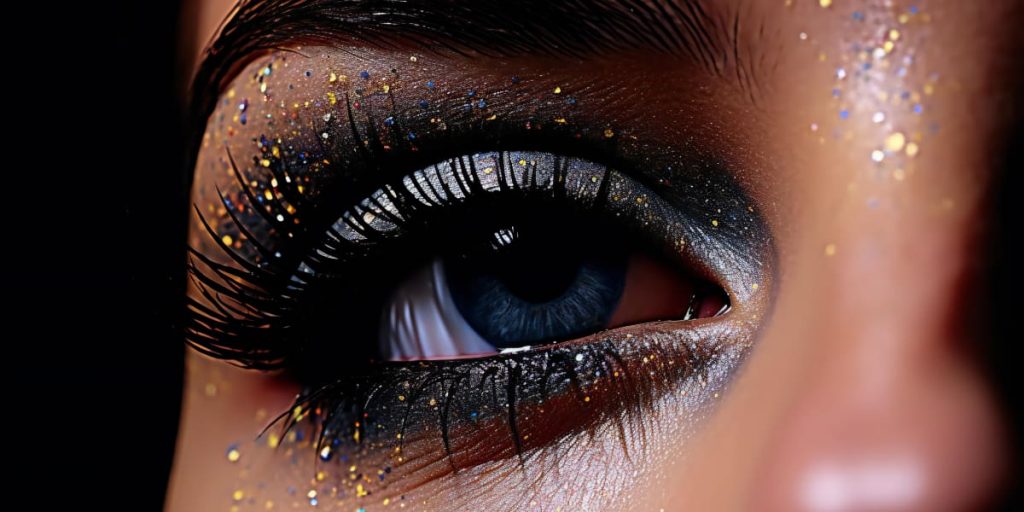
Halo eye makeup has emerged as a captivating trend in beauty. It captivates makeup enthusiasts and professionals alike with its enchanting and mesmerizing appeal.
This technique involves strategically placing a vibrant eyeshadow shade in the center of the eyelids, surrounded by darker hues, creating a luminous halo effect. The allure of halo eye makeup lies in its ability to enhance and accentuate the eyes. It provides a striking focal point that instantly elevates any look.
Makeup continues to evolve as an art form. And the allure of halo eye makeup persists. It captivates individuals with its transformative and radiant qualities. It makes it a go-to technique for those seeking to make a bold and unforgettable statement with their eye makeup.
Preparing Your Canvas
To prepare the canvas for halo eye makeup step by step, start with a high-quality eyeshadow primer. This essential product not only prolongs the wear of your eyeshadow. It also creates a smooth surface, allowing pigments to adhere more effectively. Also, investing in a neutral-toned eyeshadow as a base helps even out the skin tone on your eyelids.
Equally important is choosing the right tools. Quality eyeshadow brushes with varying shapes and sizes enable precision and control. Blending is the key to a seamless halo eye. And soft, fluffy brushes are indispensable for achieving a gradient transition.
Choosing Your Color Palette
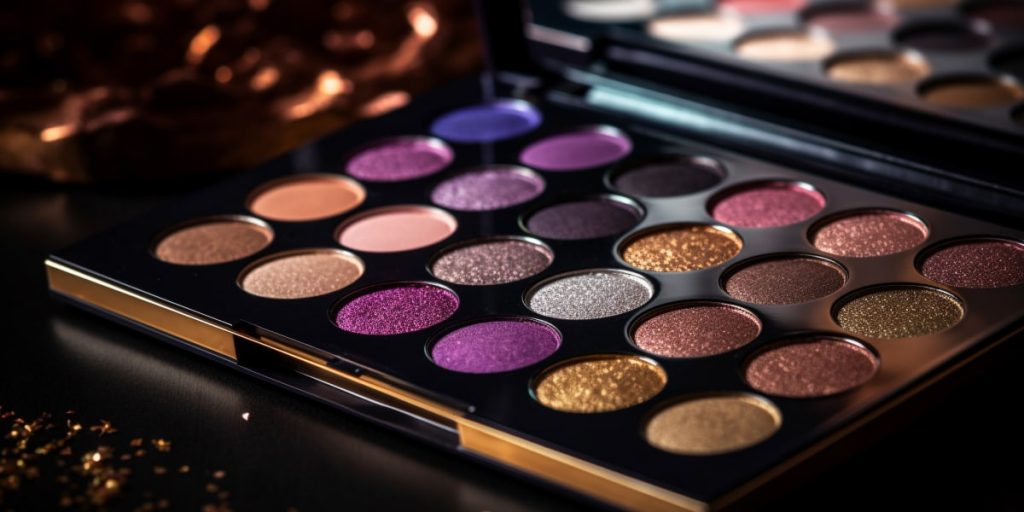
Selecting the right color palette is a pivotal aspect of mastering the art of a halo makeup look. For this, consider:
- Eye Color Complementarity. Tailor your color palette based on your eye color. Warm tones like gold and orange enhance blue eyes. At the same time, purples and pinks complement green eyes. Brown eyes provide a versatile canvas for various shades. They range from earthy neutrals to bold jewel tones.
- Contrast and Depth. Achieve dimension by selecting colors that offer contrast. Place a vibrant shade in the center of the lid, surrounded by deeper tones. This interplay creates a halo eye makeup effect, drawing attention to the eyes and adding depth.
- Skin Tone Harmony. Harmonize your color choices with your skin tone. Lighter skin tones may lean towards soft pastels and cool tones. Meanwhile, deeper skin tones can experiment with rich jewel tones and warm hues.
- Texture Variation. Mix matte and shimmer finishes to add texture and interest. A shimmery center shade intensifies the effect. At the same time, matte shades in the crease and outer corners contribute to a well-blended look.
- Monochromatic Elegance. Embrace a monochromatic scheme for a sophisticated look. Choose varying shades within the same color family. It’s to create a seamless gradient, providing a polished and cohesive appearance.
- Seasonal Influence. Let the seasons inspire your color choices. Earthy tones in autumn, icy blues and silvers in winter, fresh pastels in spring, and vibrant hues in summer can align your halo makeup look with the spirit of the season.
Mapping Out the Halo Shape
It is a crucial step in achieving a flawless and captivating halo eye makeup look. This process involves strategically placing eyeshadow. It’s to create a luminous and dimensional effect that enhances the eyes. Here’s a guide on how to master this technique:
- Begin by identifying the natural crease of your eyelid. Using a transition shade that is a few shades darker than your skin tone, softly define the crease. This establishes a guide for the halo shape.
- Next, focus on the inner and outer corners of the eyes. Apply a deeper eyeshadow shade to these areas, connecting it to the defined crease. This step adds depth and dimension, emphasizing the halo eyes in makeup.
- The centerpiece is the vibrant shade placed at the center of the eyelid. Use a flat eyeshadow brush or your fingertip. Carefully pat the chosen shade onto the center, ensuring a bold and concentrated pop of color.
- Blend the edges of the eyeshadows seamlessly to avoid harsh lines. A fluffy blending brush is essential for achieving a smooth transition between the shades. It creates a cohesive and well-defined halo shape.
Blending for Seamless Transitions
Here’s a comprehensive guide on how to master the art of blending for a mesmerizing result:
- Use High-Quality Brushes. Invest in quality eyeshadow brushes with varying shapes and sizes. Soft, fluffy brushes are essential for blending and diffusing colors seamlessly.
- Build Gradually. Start with a light hand and gradually build up the intensity of the eyeshadow colors. This prevents harsh lines and allows for better control over the blending process.
- Circular Motions. According to our halo eye makeup tutorial, employ small, circular motions when blending. This technique helps soften the edges. It ensures a gradual transition between different eyeshadow shades.
- Blend Edges. Pay close attention to the edges of each eyeshadow shade. A well-blended look requires a special focus on where colors meet. It’s to avoid any abrupt transitions.
- Use a Transition Shade. Incorporate a transition shade that is close to your skin tone. This helps create a smooth transition between the darker and lighter eyeshadows. It provides a seamless blend.
- Consider the Halo Shape. Be mindful of the halo shape previously mapped out. Concentrate on blending within the defined boundaries. It’s to maintain the distinct halo eye makeup effect while achieving a soft appearance.
- Blend in Natural Light. Whenever possible, blend your eyeshadow in natural light. This allows you to see the true colors and ensures a more accurate and well-blended result.
- Clean Brushes Between Colors. Wipe or clean your brushes between different eyeshadow colors. It’s to avoid muddying the shades. This practice maintains the vibrancy and clarity of each color.
Adding Shimmer and Sparkle
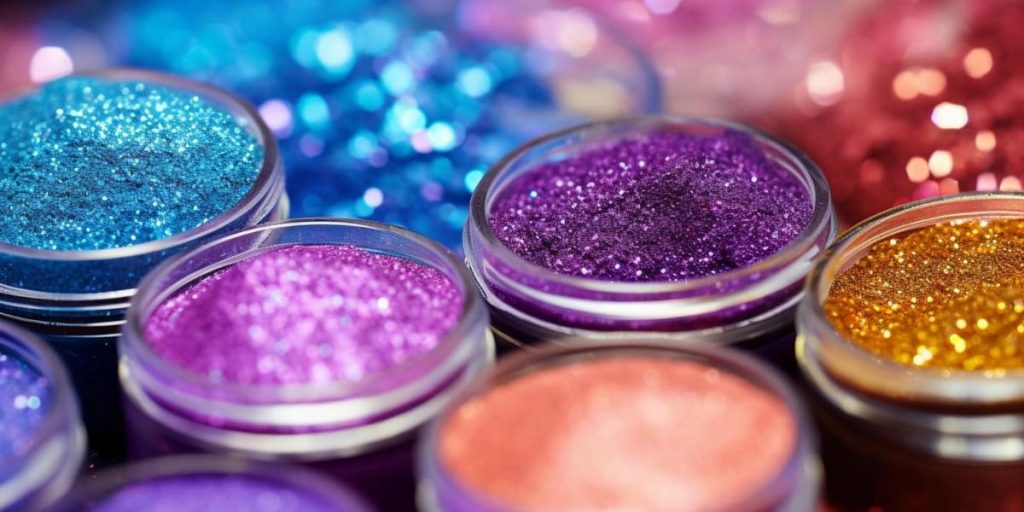
Here’s a comprehensive halo eye makeup step-by-step tutorial on adding shimmer and sparkle:
- Choose the Right Shimmer Shade. Select a shimmer or metallic eyeshadow shade that complements your chosen color palette. Golds, silvers, and champagnes are popular choices. However, feel free to experiment based on your desired look.
- Apply to the Center. Focus the shimmer on the center of the eyelid, where the halo effect is most prominent. This technique accentuates the raised appearance, creating a dazzling focal point.
- Use a Damp Brush. For an intense shimmer payoff, dampen your eyeshadow brush slightly. Do it before picking up the shimmer shade. This amplifies the metallic effect and ensures a high-impact finish.
- Layer for Intensity. According to our halo eye makeup tutorial, gradually build up the shimmer intensity. Do it by layering the eyeshadow. This allows you to control the level of sparkle and achieve the desired luminosity. It’s without overwhelming the look.
- Consider Glitter Accents. For added glamor, incorporate glitter accents. Apply a small amount of cosmetic glitter to the center of the lid, adhering to the shimmered area. This imparts a dazzling and festive touch.
- Inner Corner Highlight. Extend the sparkle to the inner corners of the eyes. Applying a touch of shimmer or a light, reflective shade in this area brightens the eyes and enhances their radiance.
- Blend Edges. Blend the edges of the shimmer. It’s to integrate it with the surrounding eyeshadow shades seamlessly. This step ensures a cohesive and polished finish.
- Opt for a Shimmering Liner. For an extra dose of sparkle, consider using a shimmering eyeliner. Apply it along the lash line or as an accent above the halo to define and highlight the eye makeup.
- Check for Symmetry. Pay attention to symmetry as you add shimmer. Ensure the placement and intensity are consistent on both eyes. It’s for a balanced and harmonious look.
Eyeliner and Mascara for Definition
Here’s a guide on how to expertly use eyeliner and mascara to enhance the beauty of your halo eye makeup:
- Precision Eyeliner Application. Choose a reliable eyeliner product, whether it’s a pencil, gel, or liquid formula. Trace the upper lash line with a steady hand, following the natural curve of your eye. For added drama, extend the line slightly beyond the outer corner to create a subtle wing.
- Tightline for Intensity. Tightlining and applying eyeliner to the waterline intensifies the definition of the eyes. A waterproof or long-wearing formula is ideal for preventing smudging throughout the day.
- Consider Colored Eyeliner. To enhance the beauty of halo eye makeup, experiment with colored eyeliners. They complement your chosen eyeshadow palette. Deep jewel tones or metallic shades can add a playful and eye-catching dimension to the look.
- Double Wing for Drama. For a bolder statement, try a double-winged eyeliner. This involves creating a second, smaller wing below the primary wing. It’s for a unique and edgy appearance.
- Curl Lashes Before Mascara. Prior to mascara application, use an eyelash curler to lift and curl the lashes. This opens up the eyes, creating a more awake and alluring appearance.
- Lengthening vs. Volumizing Mascara. Choose a mascara formula that aligns with your desired effect of a halo makeup look. Lengthening mascaras enhance the lash length while volumizing formulas add thickness and fullness. Consider layering both for a dramatic effect.
- Bottom Lash Definition. Apply a minimal amount of mascara to the bottom lashes for balance. This step completes the eye look. At the same time, it helps to avoid an overly heavy or smudged appearance.
- Opt for Waterproof Formulas. To ensure longevity, opt for waterproof or smudge-proof eyeliner and mascara formulas.
- Clean Up Any Mistakes. Correct any eyeliner or mascara smudges with a pointed cotton swab dipped in makeup remover. This maintains a clean and polished finish.
Eyebrow Styling
Here’s a halo eye makeup step-by-step tutorial on how to master the art of eyebrow styling:
- Define Your Arch. Identify the natural arch of your eyebrows. It typically aligns with the outer edge of your iris. Use this as a guide when shaping and filling in your brows to complement the halo eye effect.
- Choose the Right Brow Products. Select brow products that suit your preferences and needs. They’re pencils, powders, gels, or a combination. Opt for shades that harmonize with your natural hair color or the color palette of your halo eye makeup.
- Mapping Out the Brows. Use a brow pencil to map out the desired shape of your eyebrows. Mark the starting point, arch, and end of your brows to maintain symmetry and achieve a polished look.
- Feathered Strokes for a Natural Look. When filling in your brows, use feathered strokes to mimic the appearance of natural hair. This technique ensures a softer and more natural-looking result. It complements the halo eye makeup.
- Blend for Seamless Integration. Blend the brow product with a spoolie brush. It’s to achieve a seamless integration with your natural brow hairs. This step softens harsh lines and creates a more polished finish of halo eye makeup.
- Brow Gel for Hold. Apply a clear or tinted brow gel to set the eyebrow hairs in place. This not only provides a polished appearance. But it also ensures that the brows maintain their shape throughout the day.
- Highlight the Brow Bone. Use a matte or shimmering highlighter beneath the brow arch. It’s to accentuate the lifted appearance.
- Consider Professional Shaping. Regularly visit a professional for eyebrow shaping. It’s especially true if you are unsure about the ideal shape for your face. A well-shaped brow complements the halo makeup look. It creates a cohesive and refined look.
- Maintain Natural Thickness. Embrace your natural brow thickness when styling. Overly thin or overly thick brows may not harmonize well with the makeup. So, find a balance that suits your facial features.
Final Touches and Setting
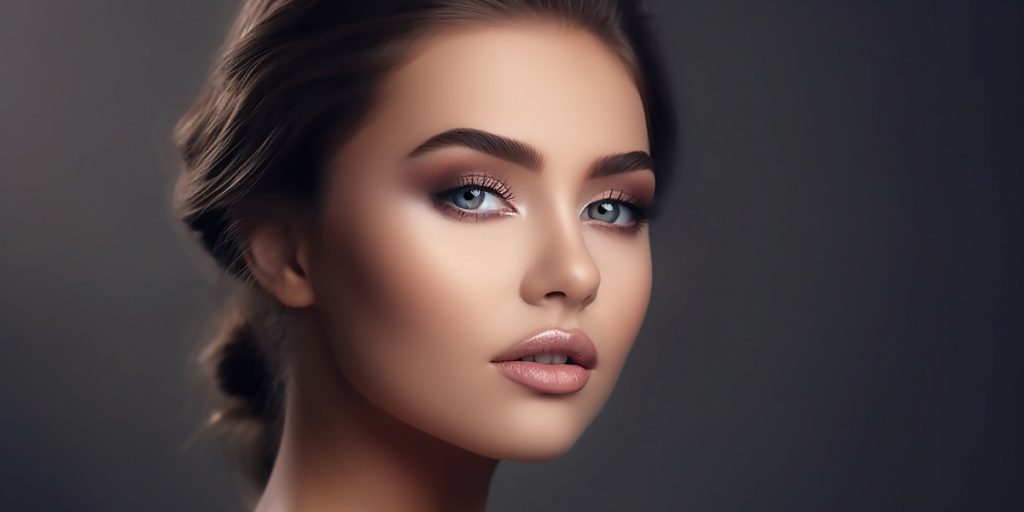
These essential final steps complete the look. It contributes to the allure of well-executed eye makeup:
- Clean Up Edges. Use a small, flat brush dipped in concealer to clean up any uneven edges or unintended smudges. This step sharpens the lines and creates a crisp finish around the eyes.
- Under-Eye Concealer. The next step in halo eye makeup step-by-step is applying concealer under the eyes. It’s to cover any dark circles or fallout from eyeshadow applications.
- Set with Translucent Powder. Set your eye makeup, including concealer, with a light dusting of translucent powder. This helps prevent creasing and ensures a long-lasting, matte finish.
- Double-check Symmetry. Verify that the eyeshadow, eyeliner, and brows are symmetrical on both eyes. Make any necessary adjustments to maintain a balanced and polished appearance.
- Highlight Inner Corners. Add a touch of highlighter to the inner corners of the eyes. This step brightens and opens up the eyes, enhancing the halo eye makeup effect.
- Curl Lashes Again. After applying mascara and allowing it to dry, curl your lashes once more for an extra lift. This step reinforces the curled appearance and intensifies the overall eye look.
- Set Brows with Gel. Use a clear or tinted brow gel to set your eyebrows in place. It ensures the brows maintain a shape throughout the day and complements the makeup.
- Mist with Setting Spray. Finish the entire makeup look, including the halo eye makeup. Mist your face with a setting spray. This not only locks in the makeup but also provides a refreshing and dewy finish.
- Blot Excess Oil. Keep oiliness at bay by carrying blotting papers. Gently blot the T-zone if needed. Ensure the halo makeup look remains vibrant and smudge-free.
Conclusion
Mastering the art of halo eye makeup transforms the eyes into a captivating focal point. It draws attention and adds a touch of glamor to any look. From selecting the perfect color palette and meticulously mapping out the halo shape to seamlessly blending eyeshadows and incorporating shimmer, eyeliner, mascara, and eyebrow styling, each step contributes to the overall allure. The final touches and setting techniques ensure a polished and long-lasting finish.
FAQ
What eye shapes are best suited for halo-style eye makeup?
Halo eye makeup is versatile and can be adapted to various eye shapes. It particularly enhances round eyes by creating dimension. It elongates almond-shaped eyes and adds drama to hooded or downturned eyes.
How can I make my halo eye makeup last all day and night?
Use a good eyeshadow primer. Set your makeup with translucent powder. Opt for waterproof or long-wearing formulas for eyeliner and mascara. Additionally, a setting spray helps lock in the halo eye makeup for an extended duration.
Are there any variations of the halo eye makeup technique for different occasions?
Yes, there are many variations of the halo eye makeup technique for occasions. Soft pastels and neutrals are great for daytime or romantic looks. Bold and dark shades are for dramatic evening or special event makeup. Consider incorporating glitter or metallics for a festive or glamorous touch. The key is to adapt the halo eye makeup to the mood and formality of the occasion.


